
The front-facing stereo speakers on the Nexus 6 certainly pump out some awesome sound—but it could always be better, right?
Audiophiles will be happy to know that the team at Viper Audio has recently released a Nexus 6 Lollipop-compatible version of their popular sound quality mod. With a custom sound driver that allows for fine-tuned equalization on all audio output methods, Viper Audio is a treat for your phone and your ears.
Requirements
- Rooted Nexus 6 running stock Android 5.0
- Custom recovery installed
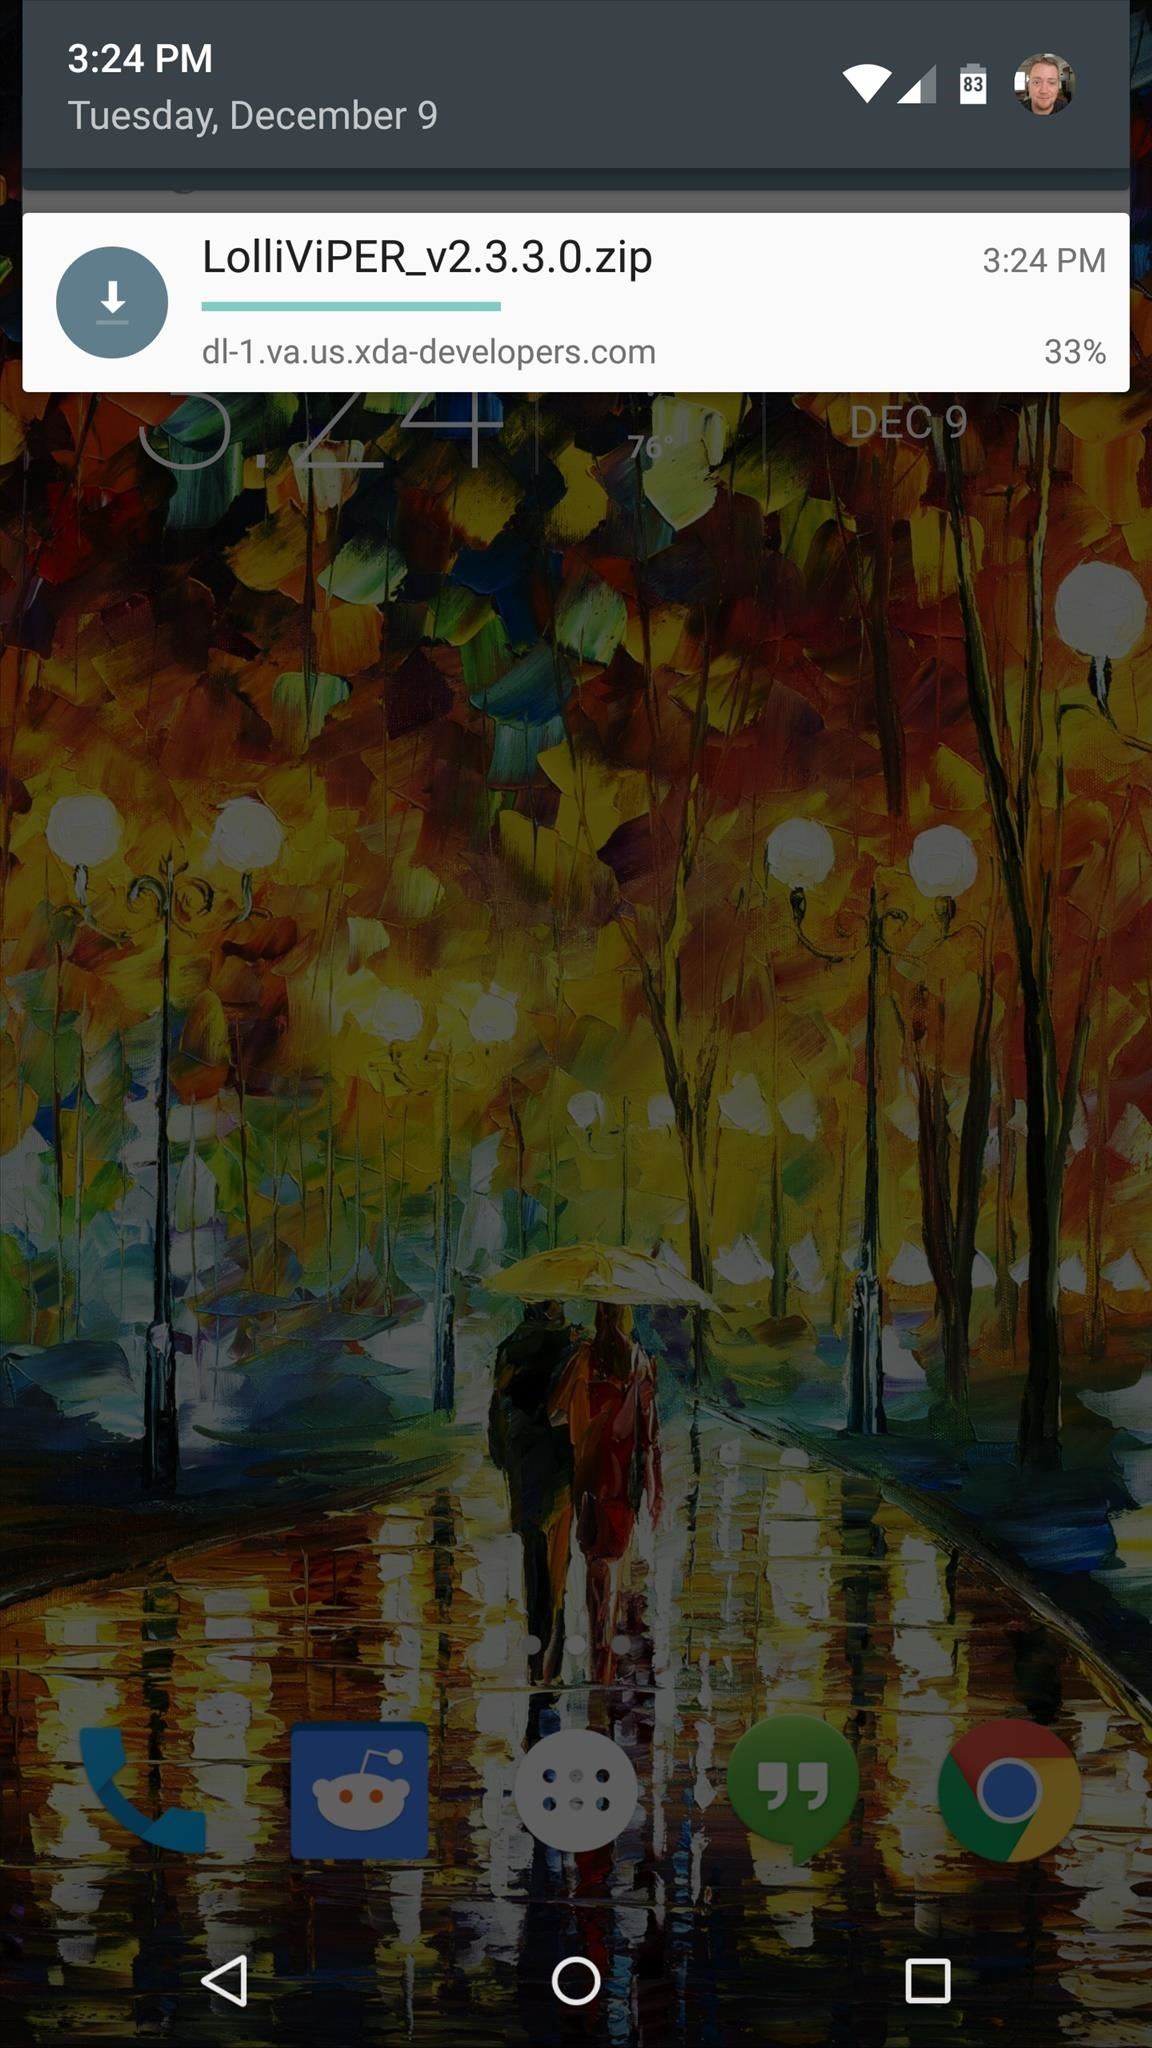
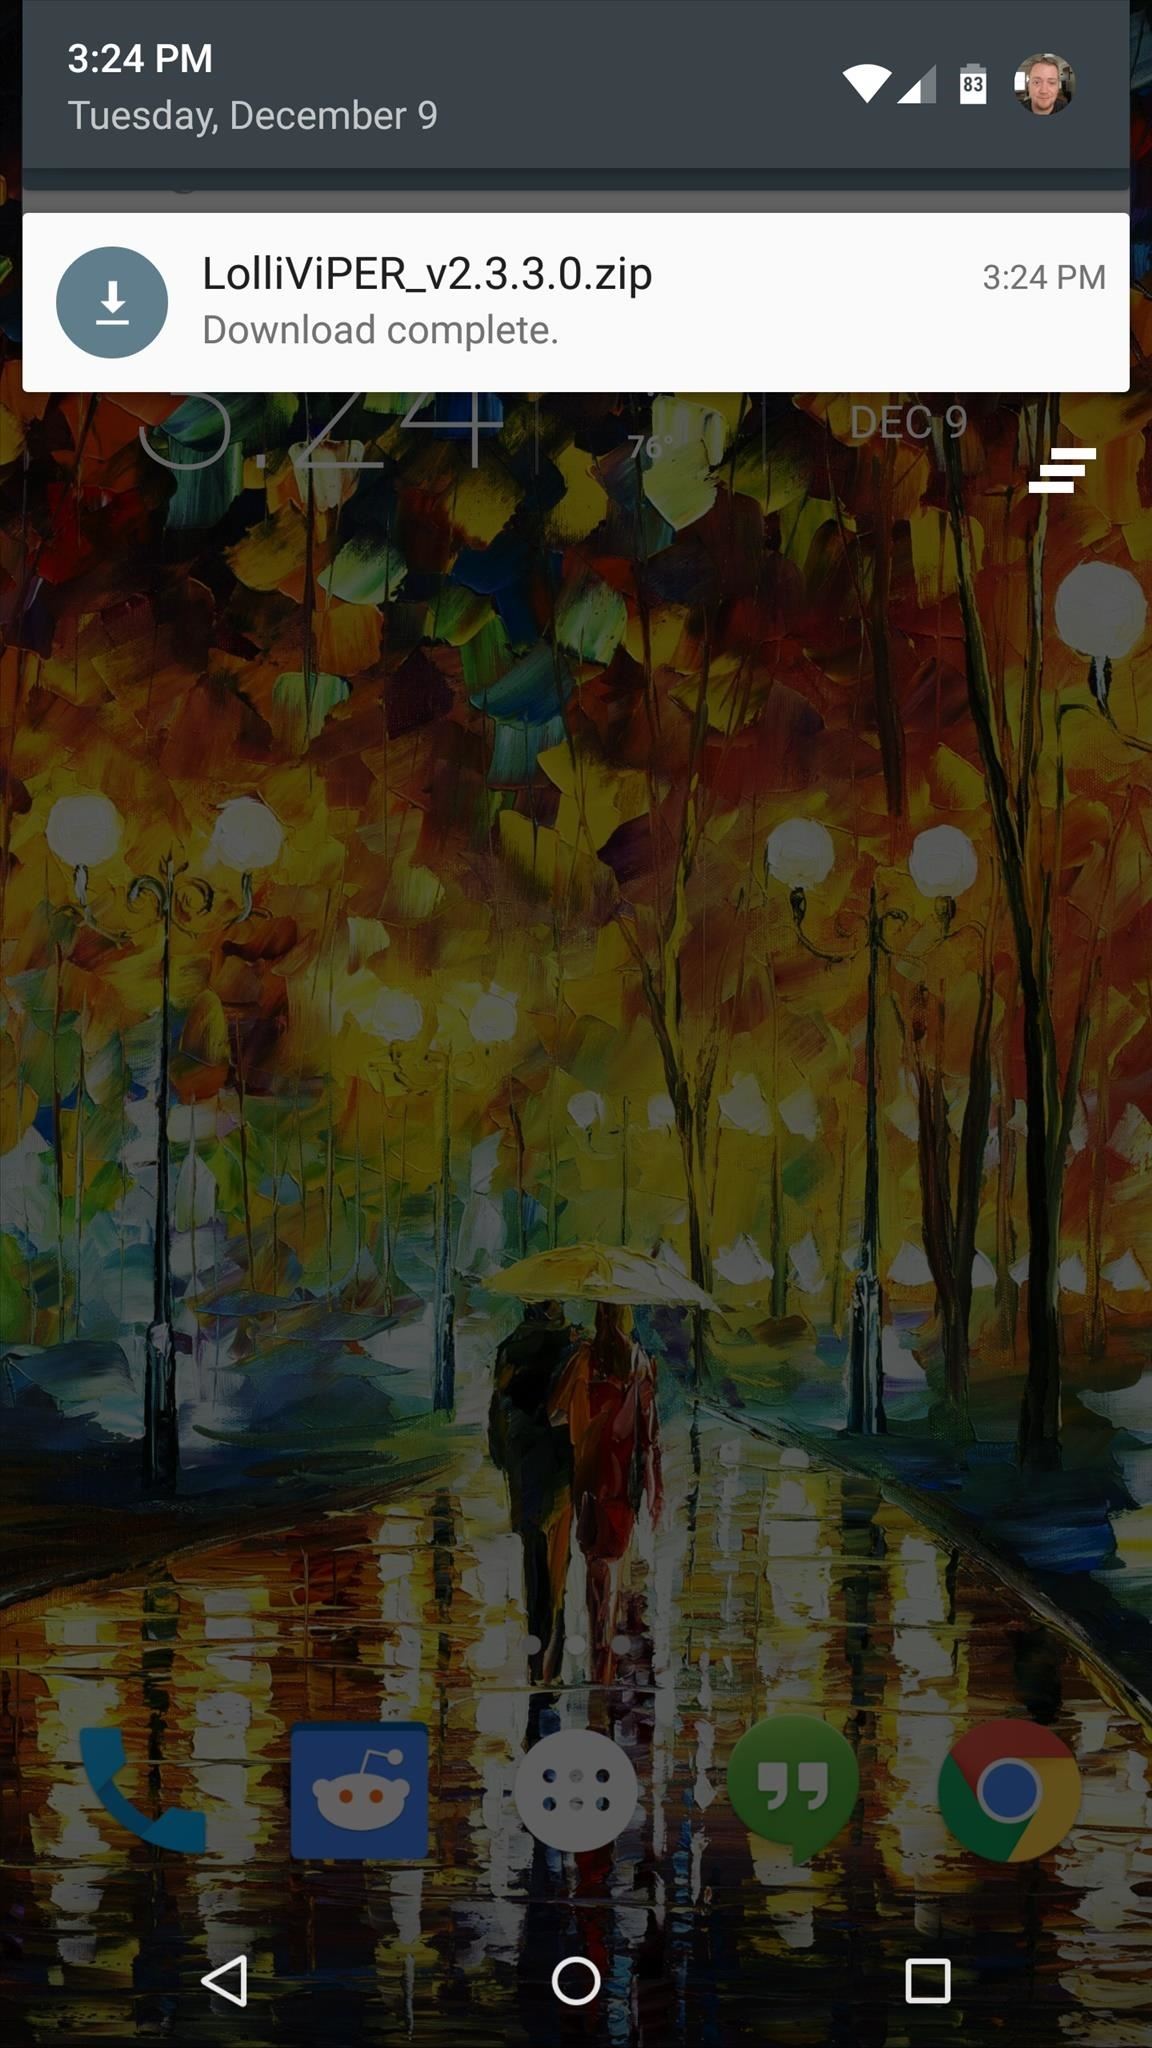
Step 1: Download the Viper Audio Mod
To begin, point your Nexus 6's web browser to this link, and the Viper Audio flashable ZIP should start downloading immediately. Wait until it finishes before moving on to the next step.
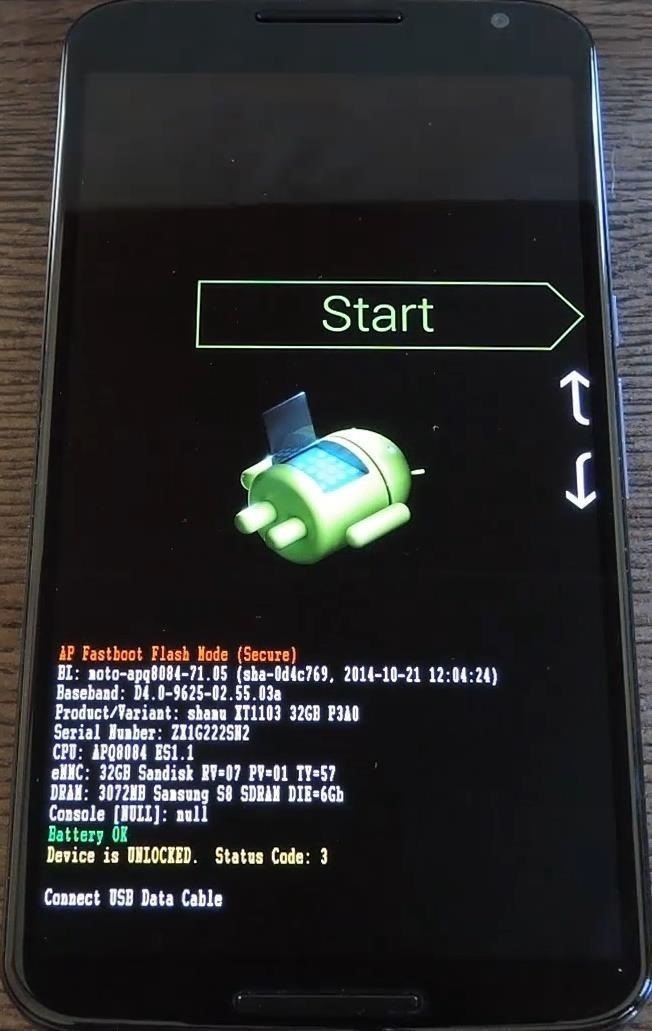
Step 2: Boot into Custom Recovery
Next, power your phone completely off. When the screen goes black, press and hold the volume down and power buttons simultaneously. When Android's bootloader menu comes up, press the volume down button twice to highlight "Recovery mode," then press the power button to select it.

Step 3: Install the Viper Audio Mod
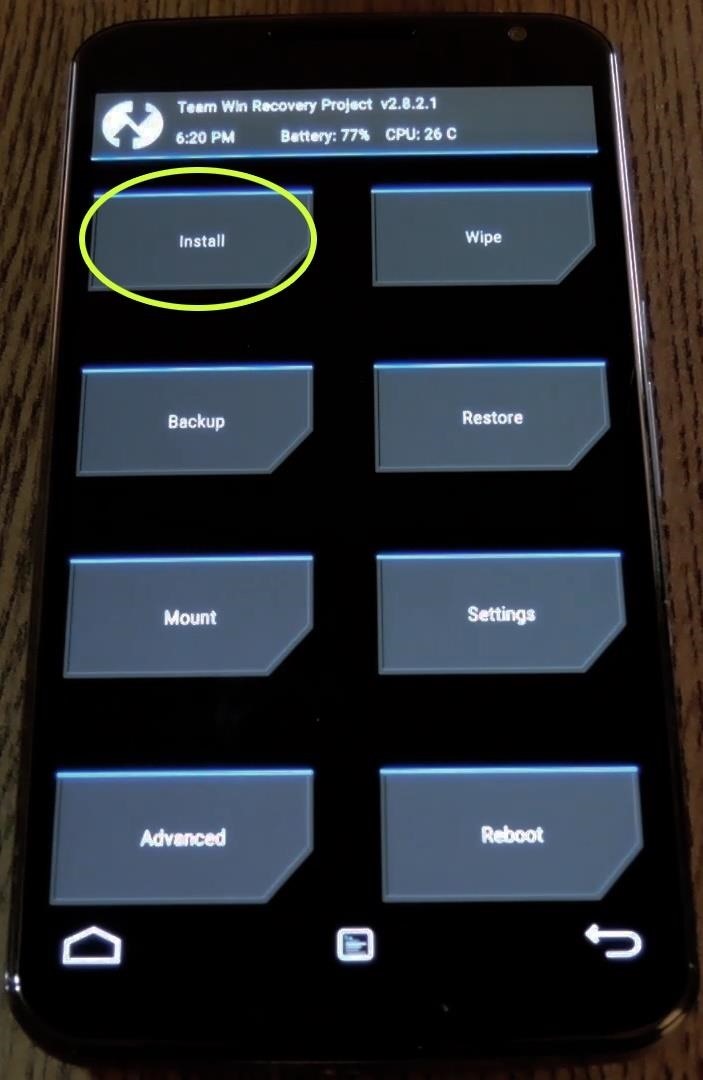
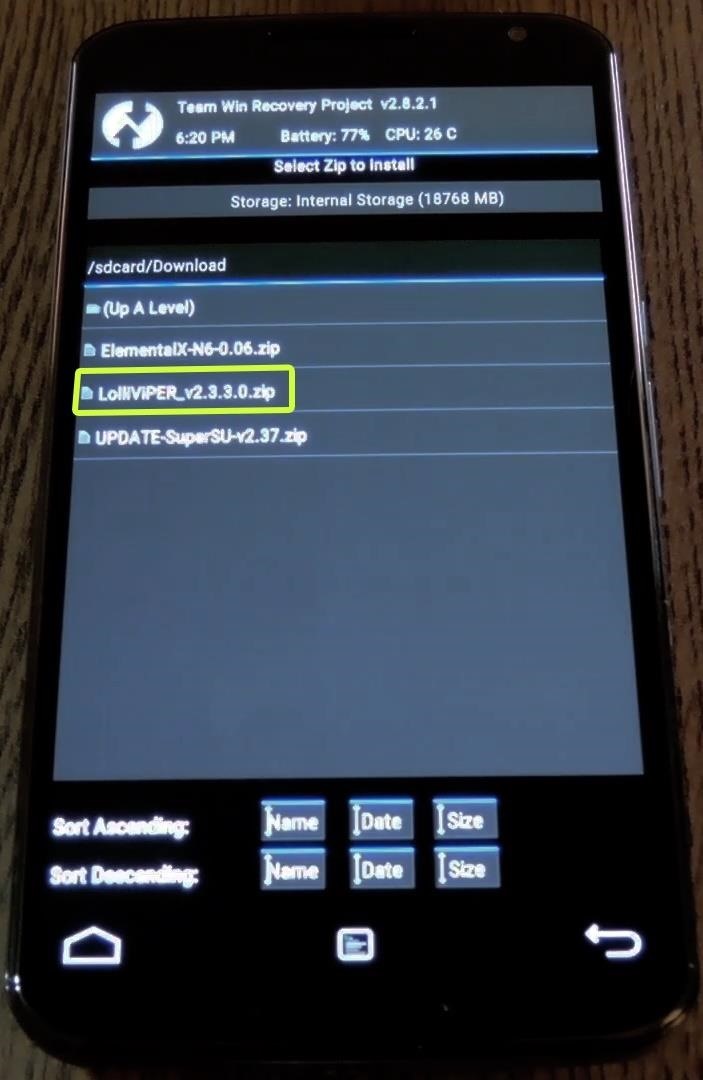
From TWRP's main menu, tap the "Install" button to begin (this will be slightly different on other custom recoveries, but the process is the same overall). Next, navigate to your device's Download folder and select the "LolliVIPER_2.3.3.0.zip" file.
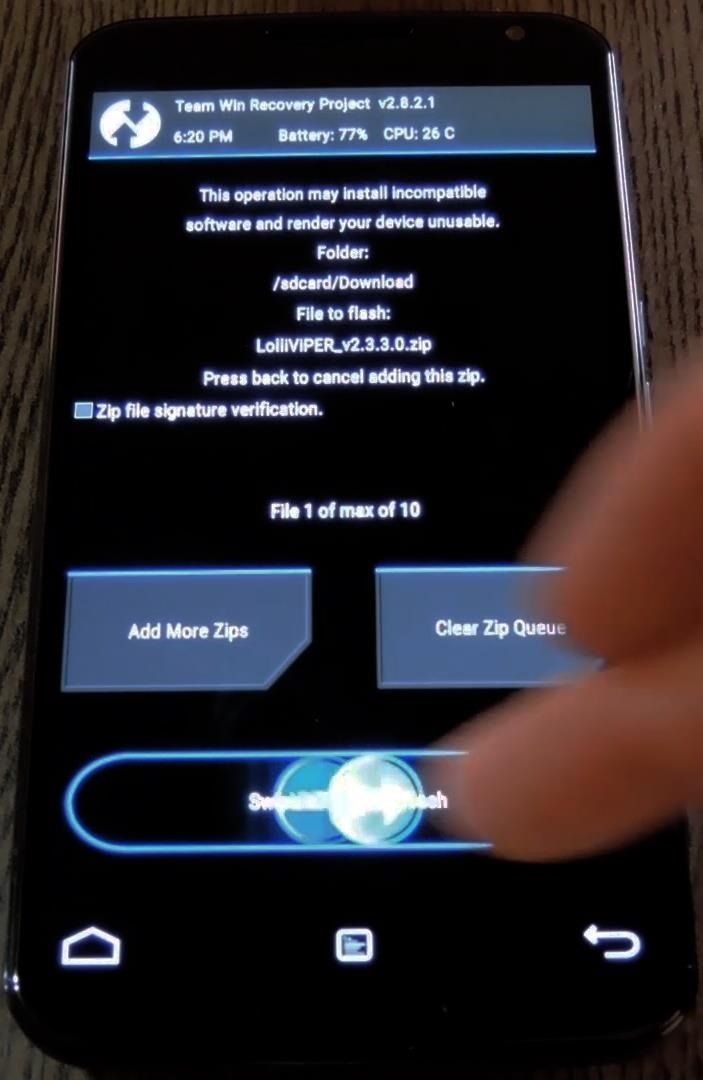
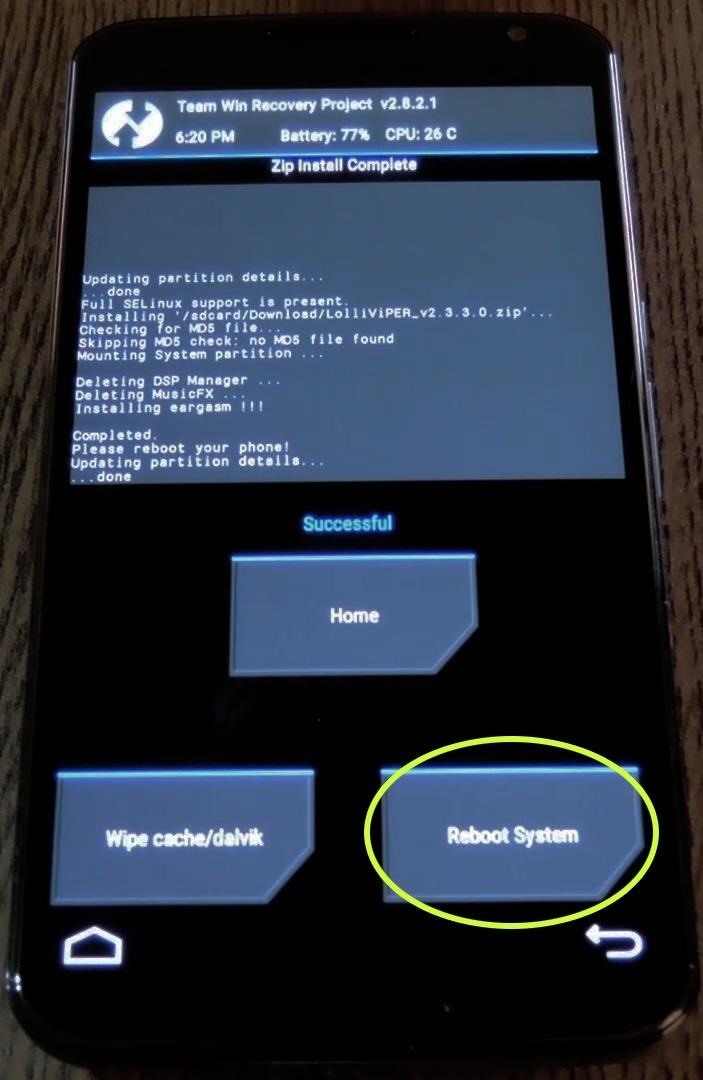
From here, swipe the slider at the bottom of the screen to install the mod, and when it's finished, tap "Reboot System."
Step 4: Install the Viper Audio Driver
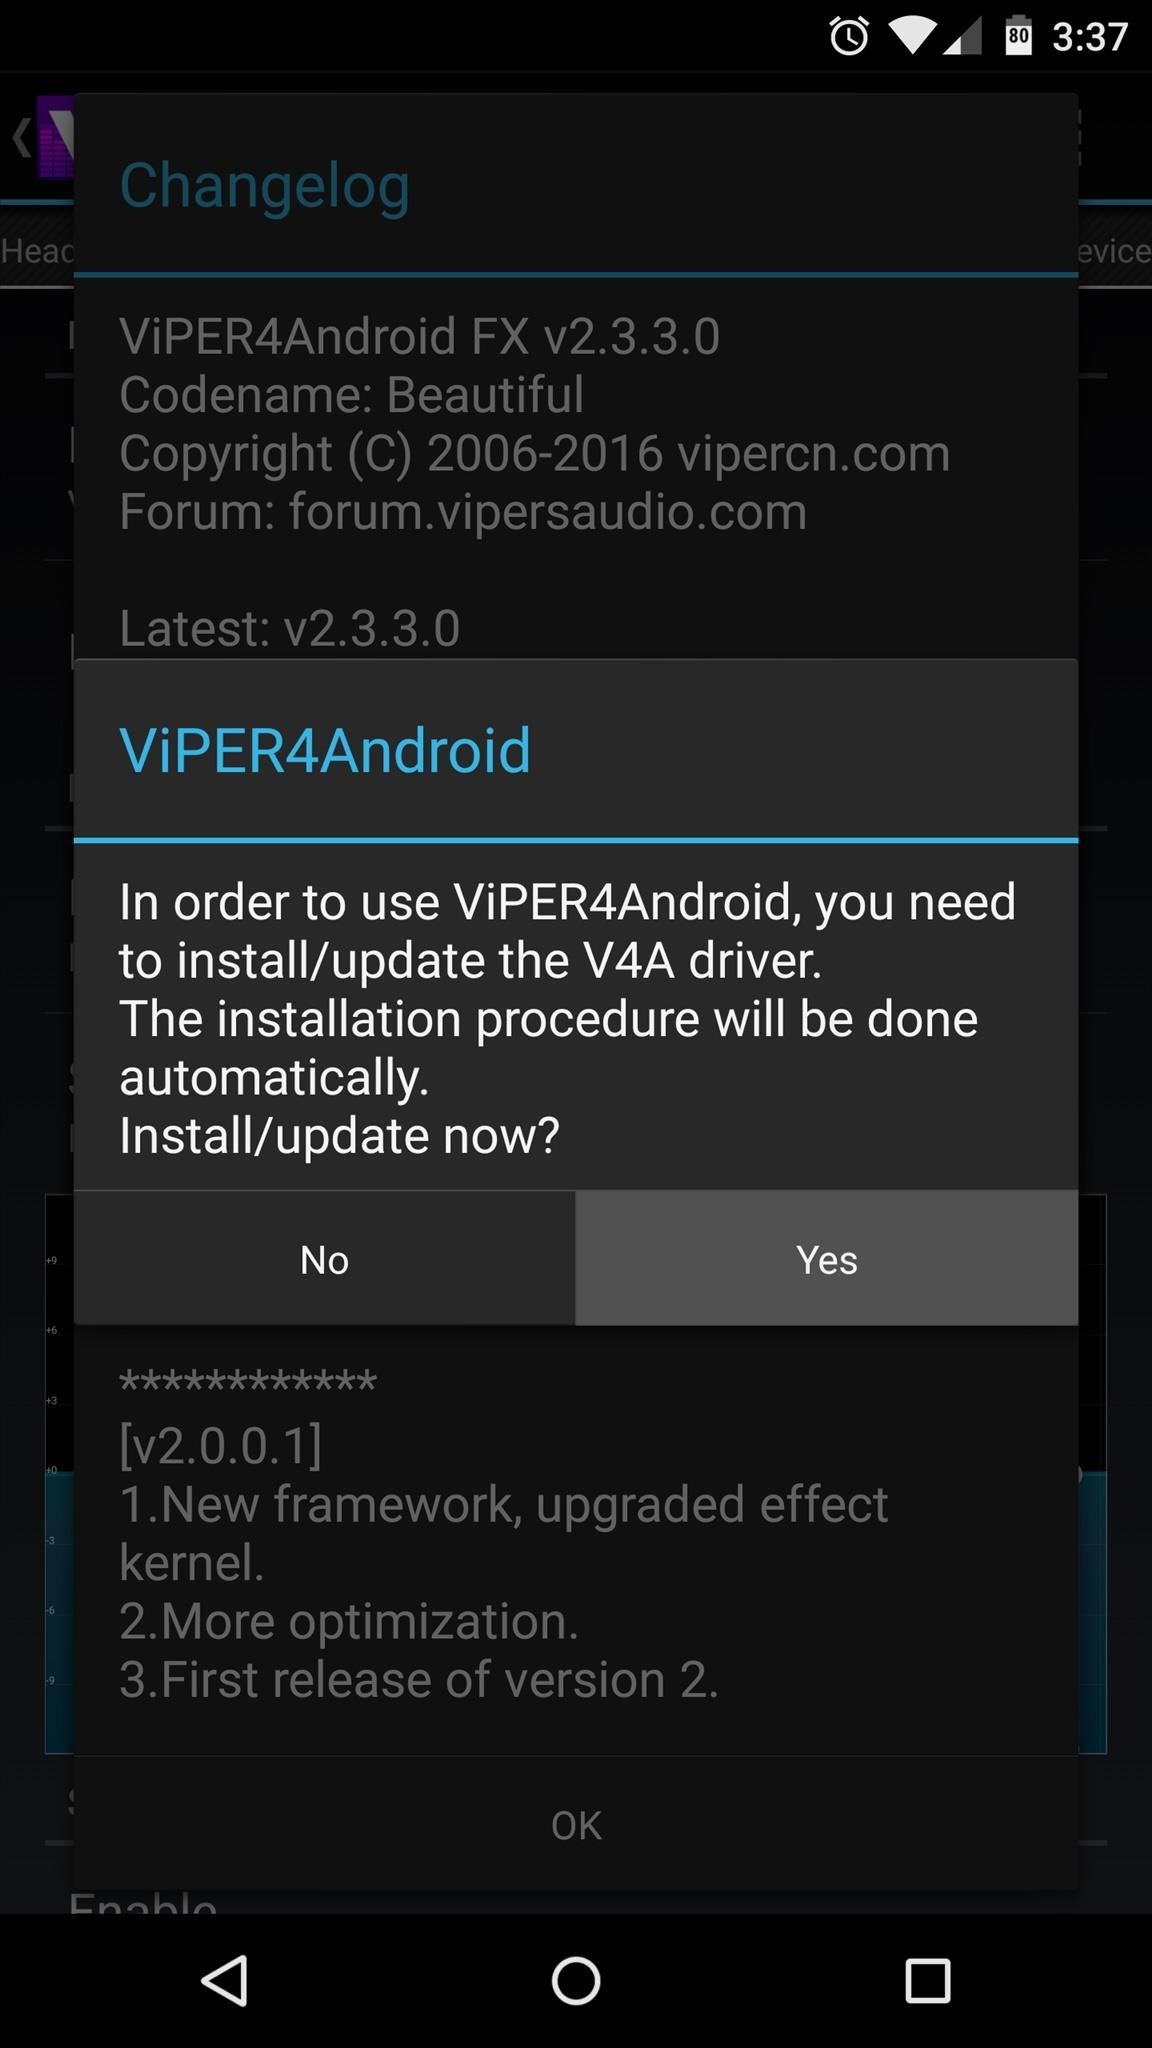
When your phone finishes booting back up, open "ViPER4Android" from your app drawer. Viper will immediately inform you that it needs to install its custom sound driver, so tap "Yes" on the popup.

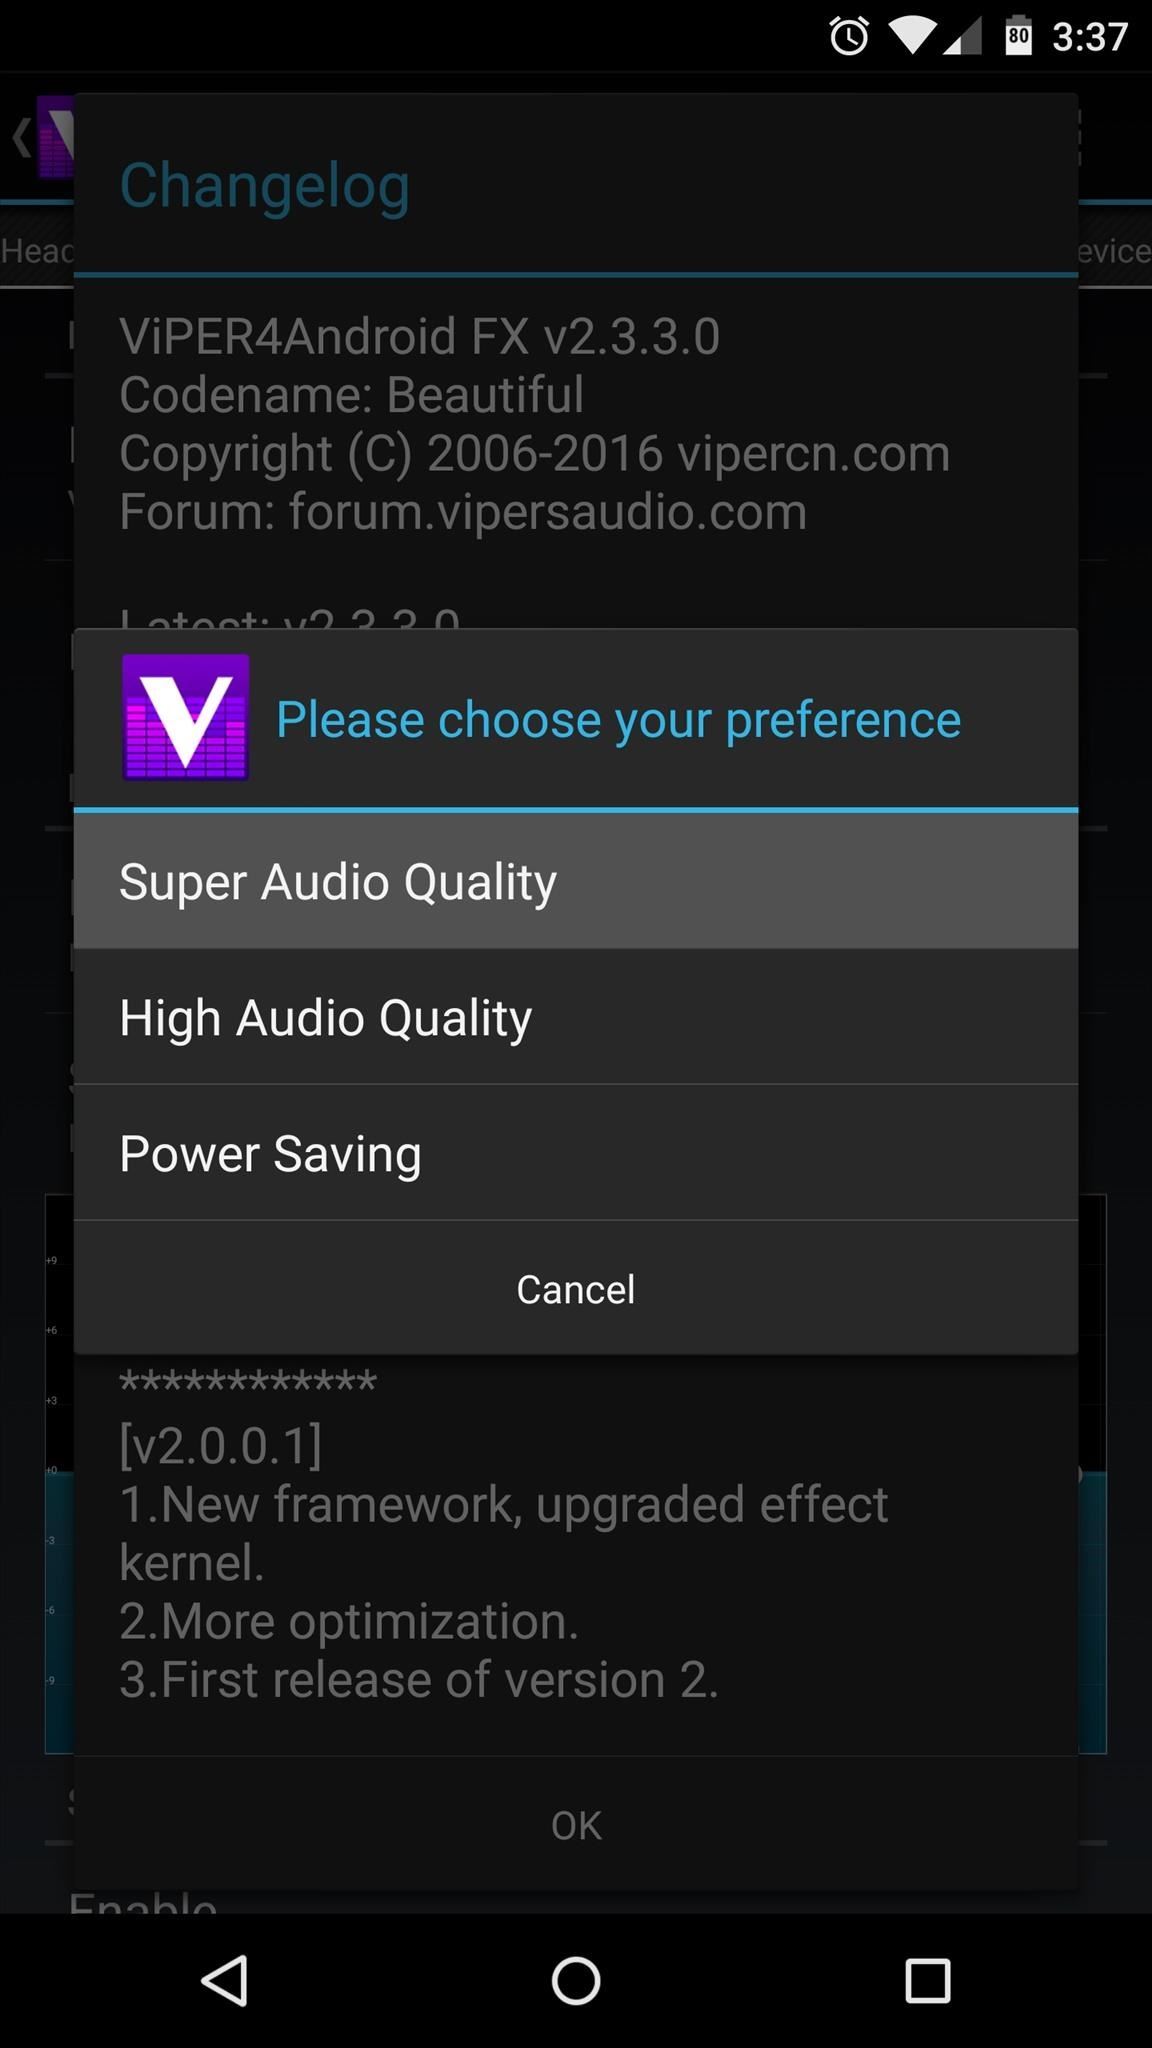
There are three different drivers to choose from, all optimized for their specific purpose. If top-quality sound is what you're after, for instance, select "Super Audio Driver," then press "OK" on the popup.

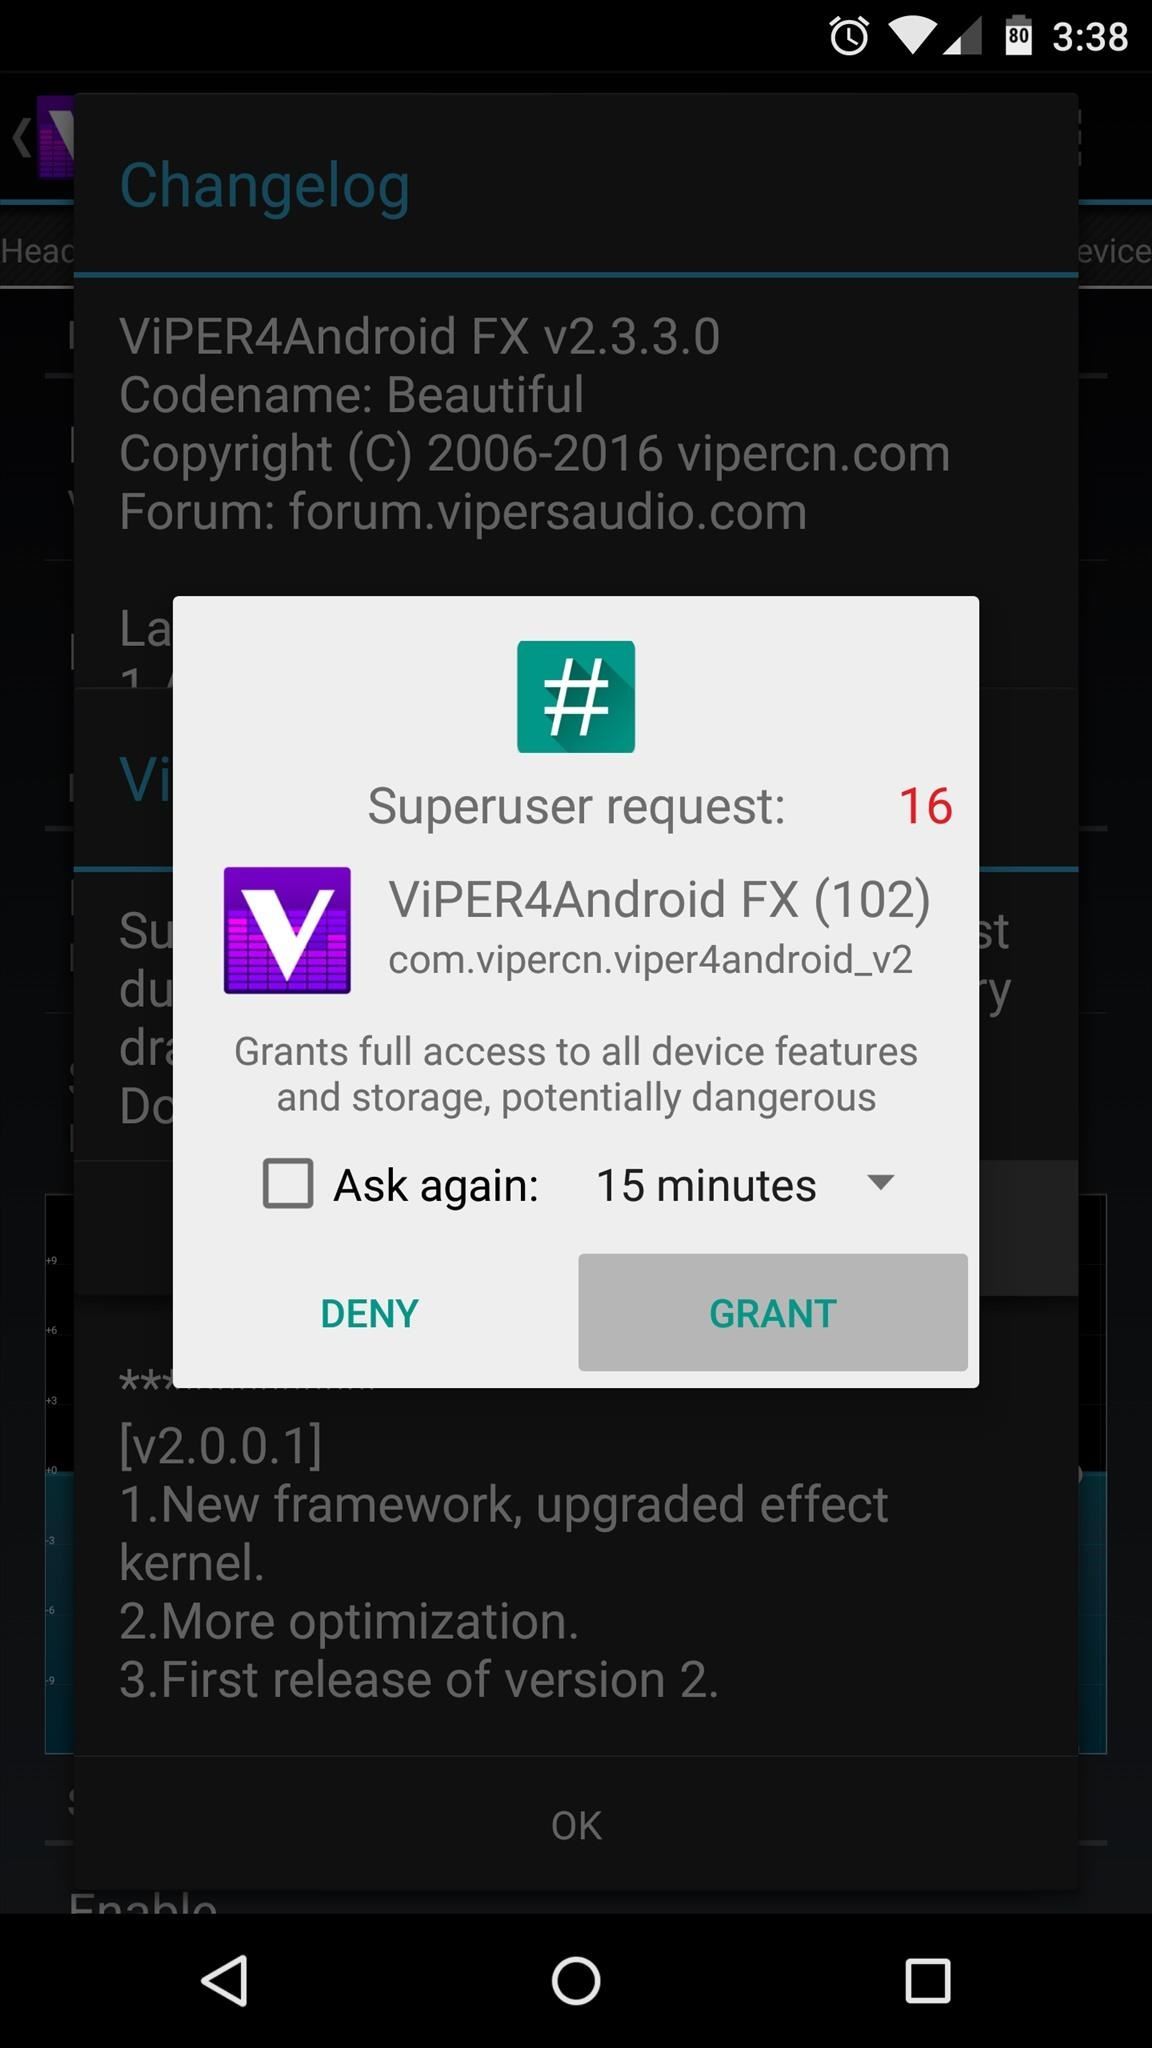
Next, the app will ask for Superuser access, so tap "Grant" on the root dialog box. When the driver has been installed, Viper will inform you that a reboot is needed before your changes become active.
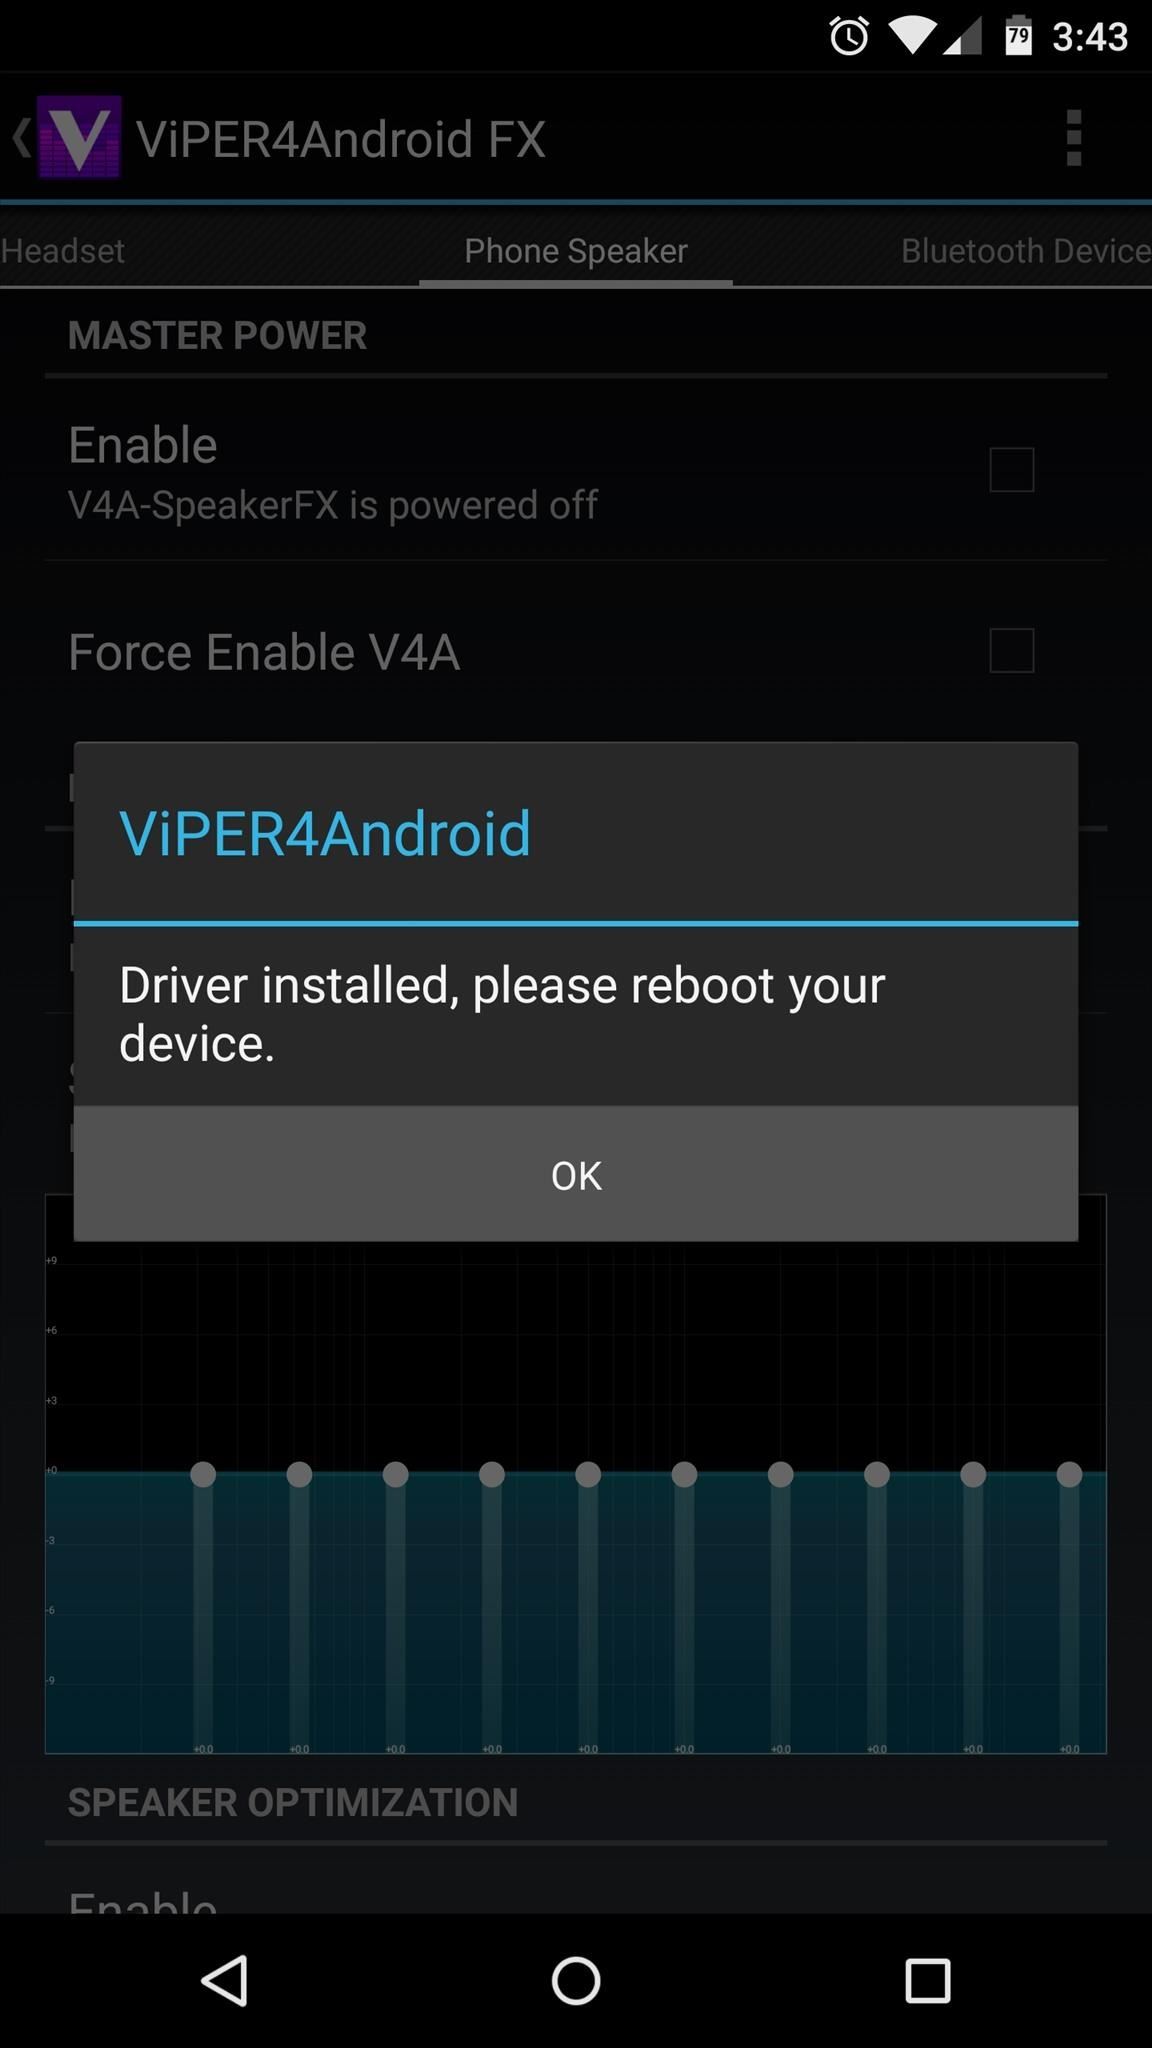
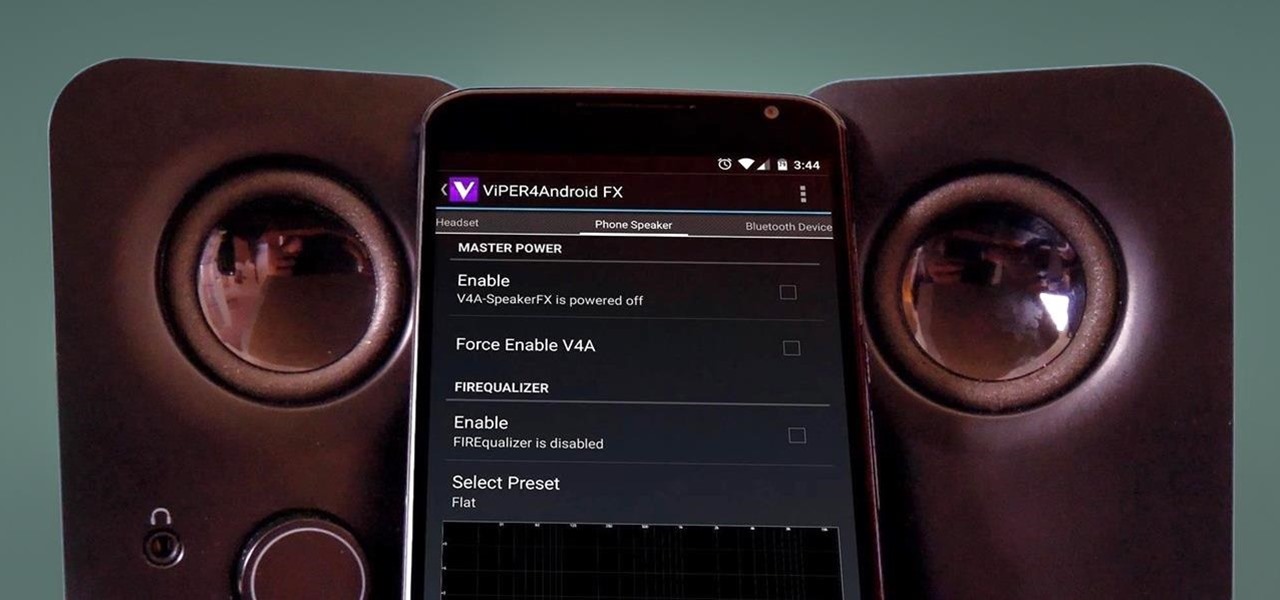
Step 5: Adjust Viper Audio Settings
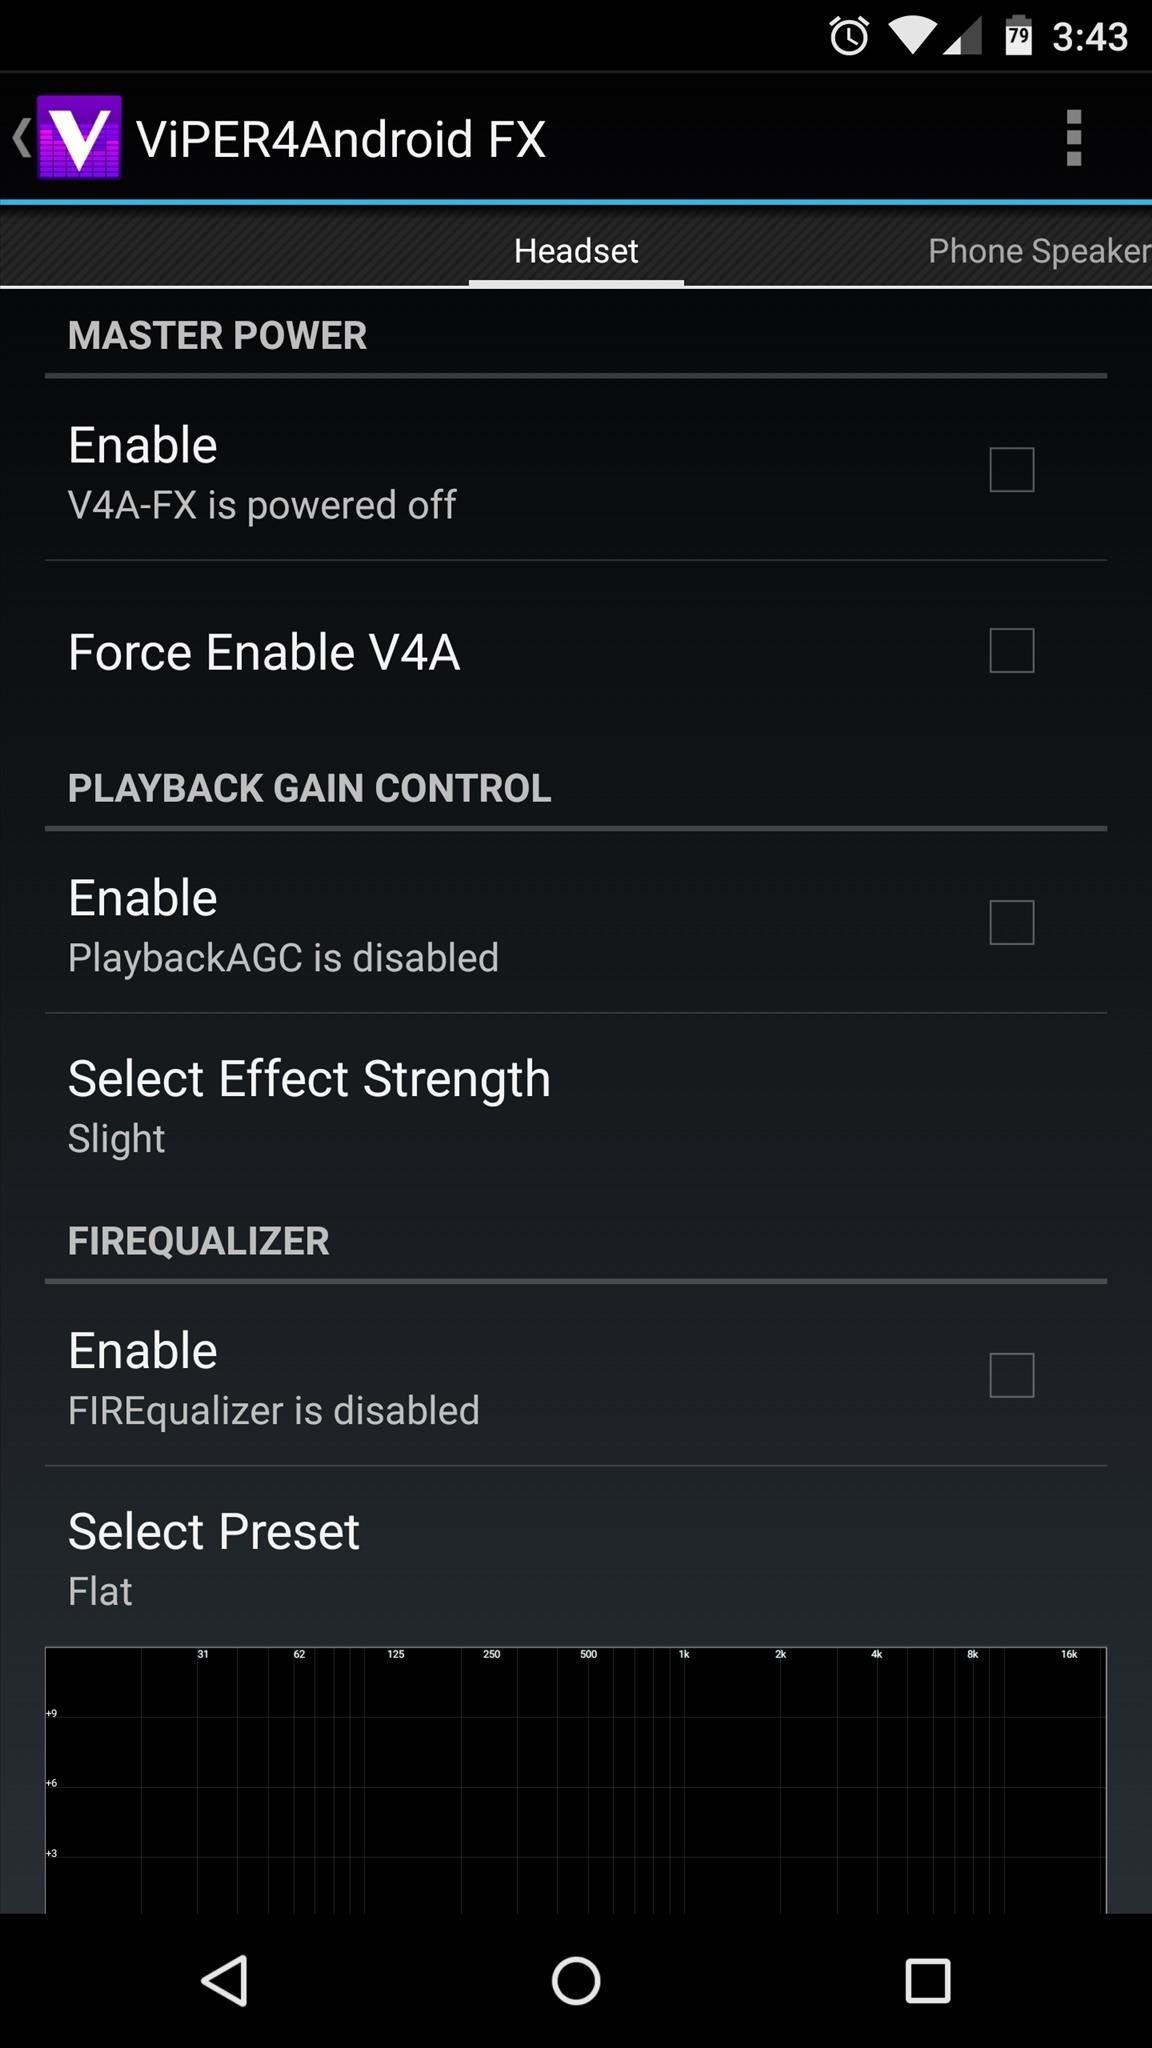
After rebooting your phone, the new Viper Audio drivers will be in place. If you'd like to take full advantage of them, open the ViPER4Android app.
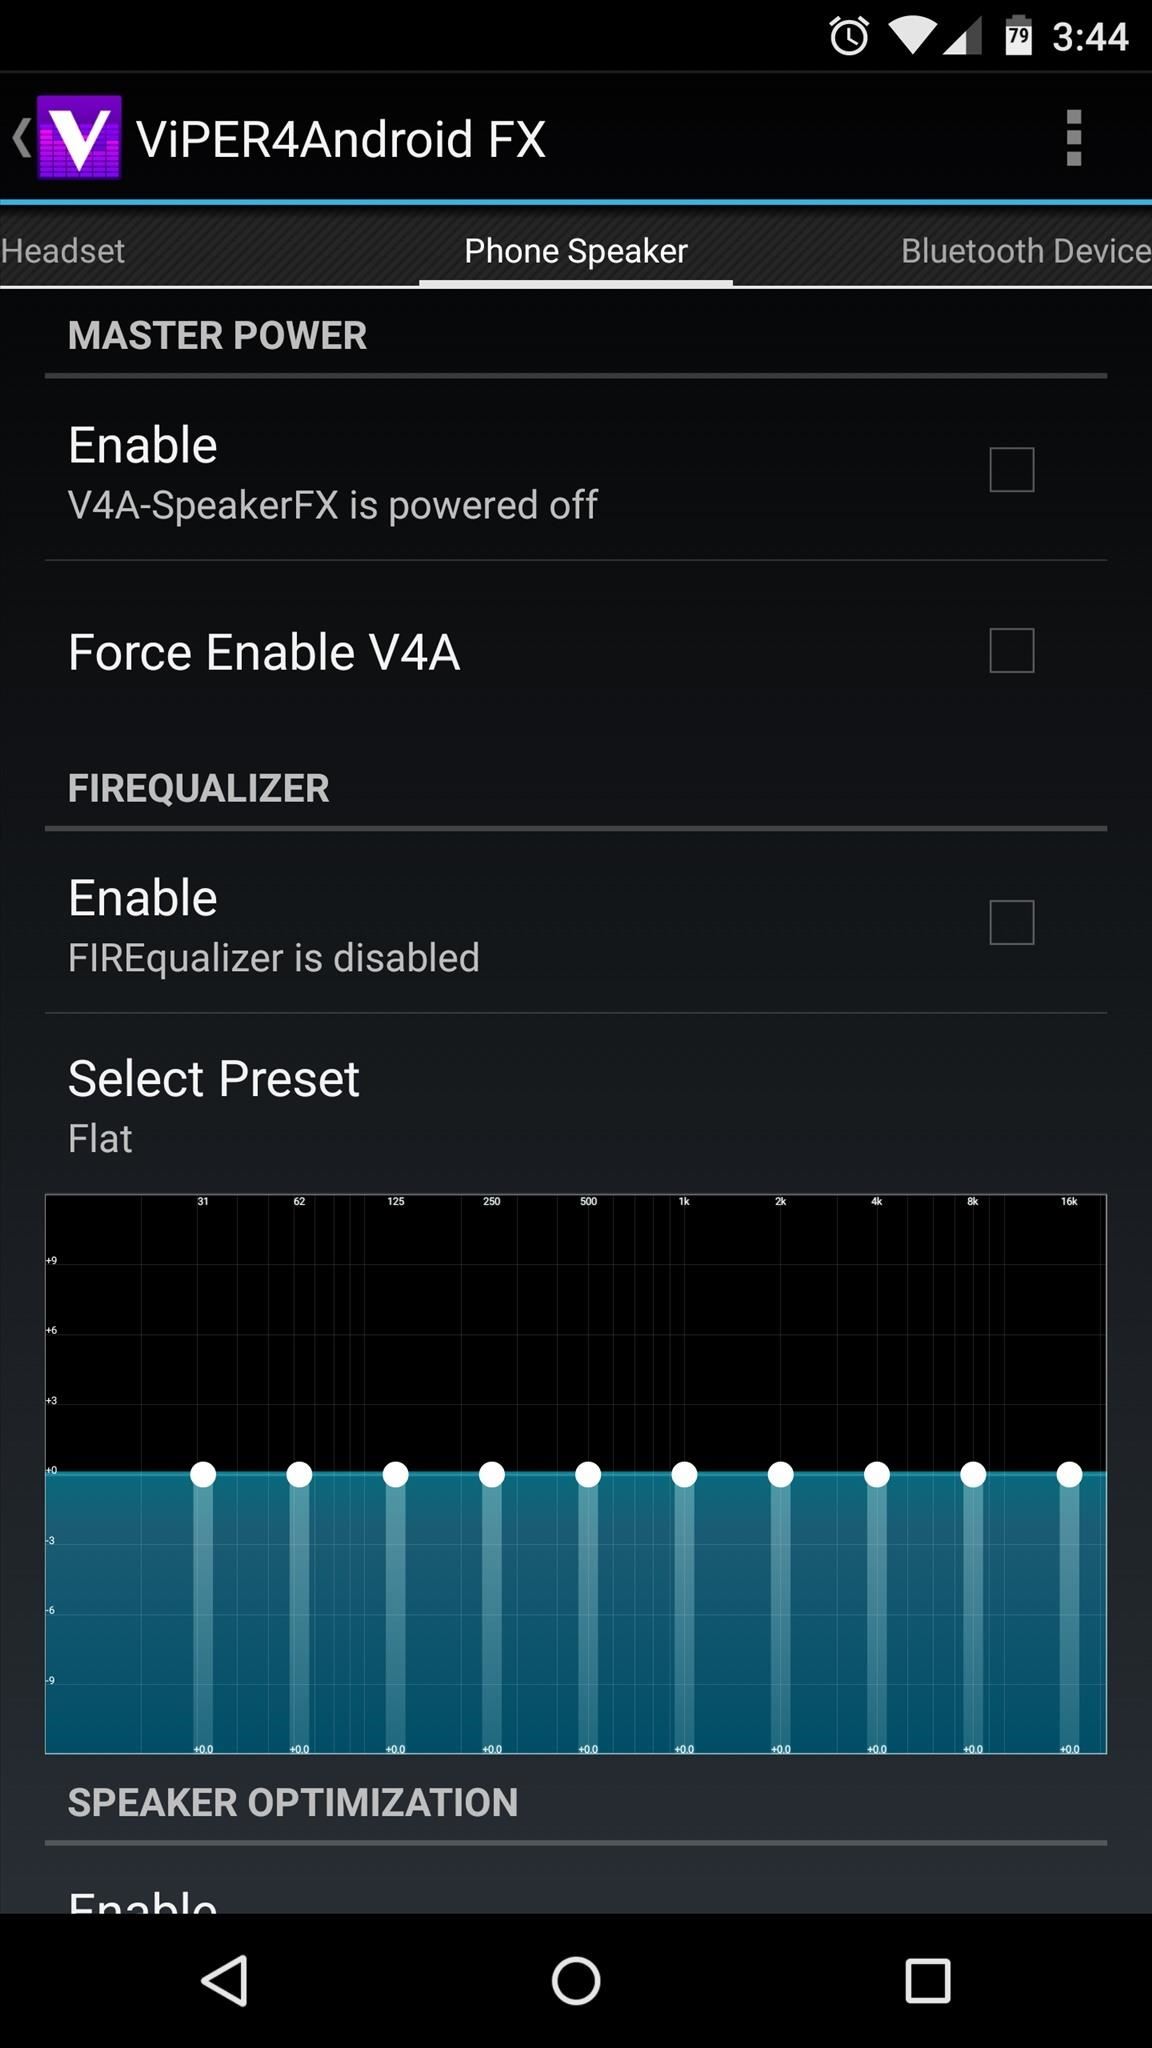
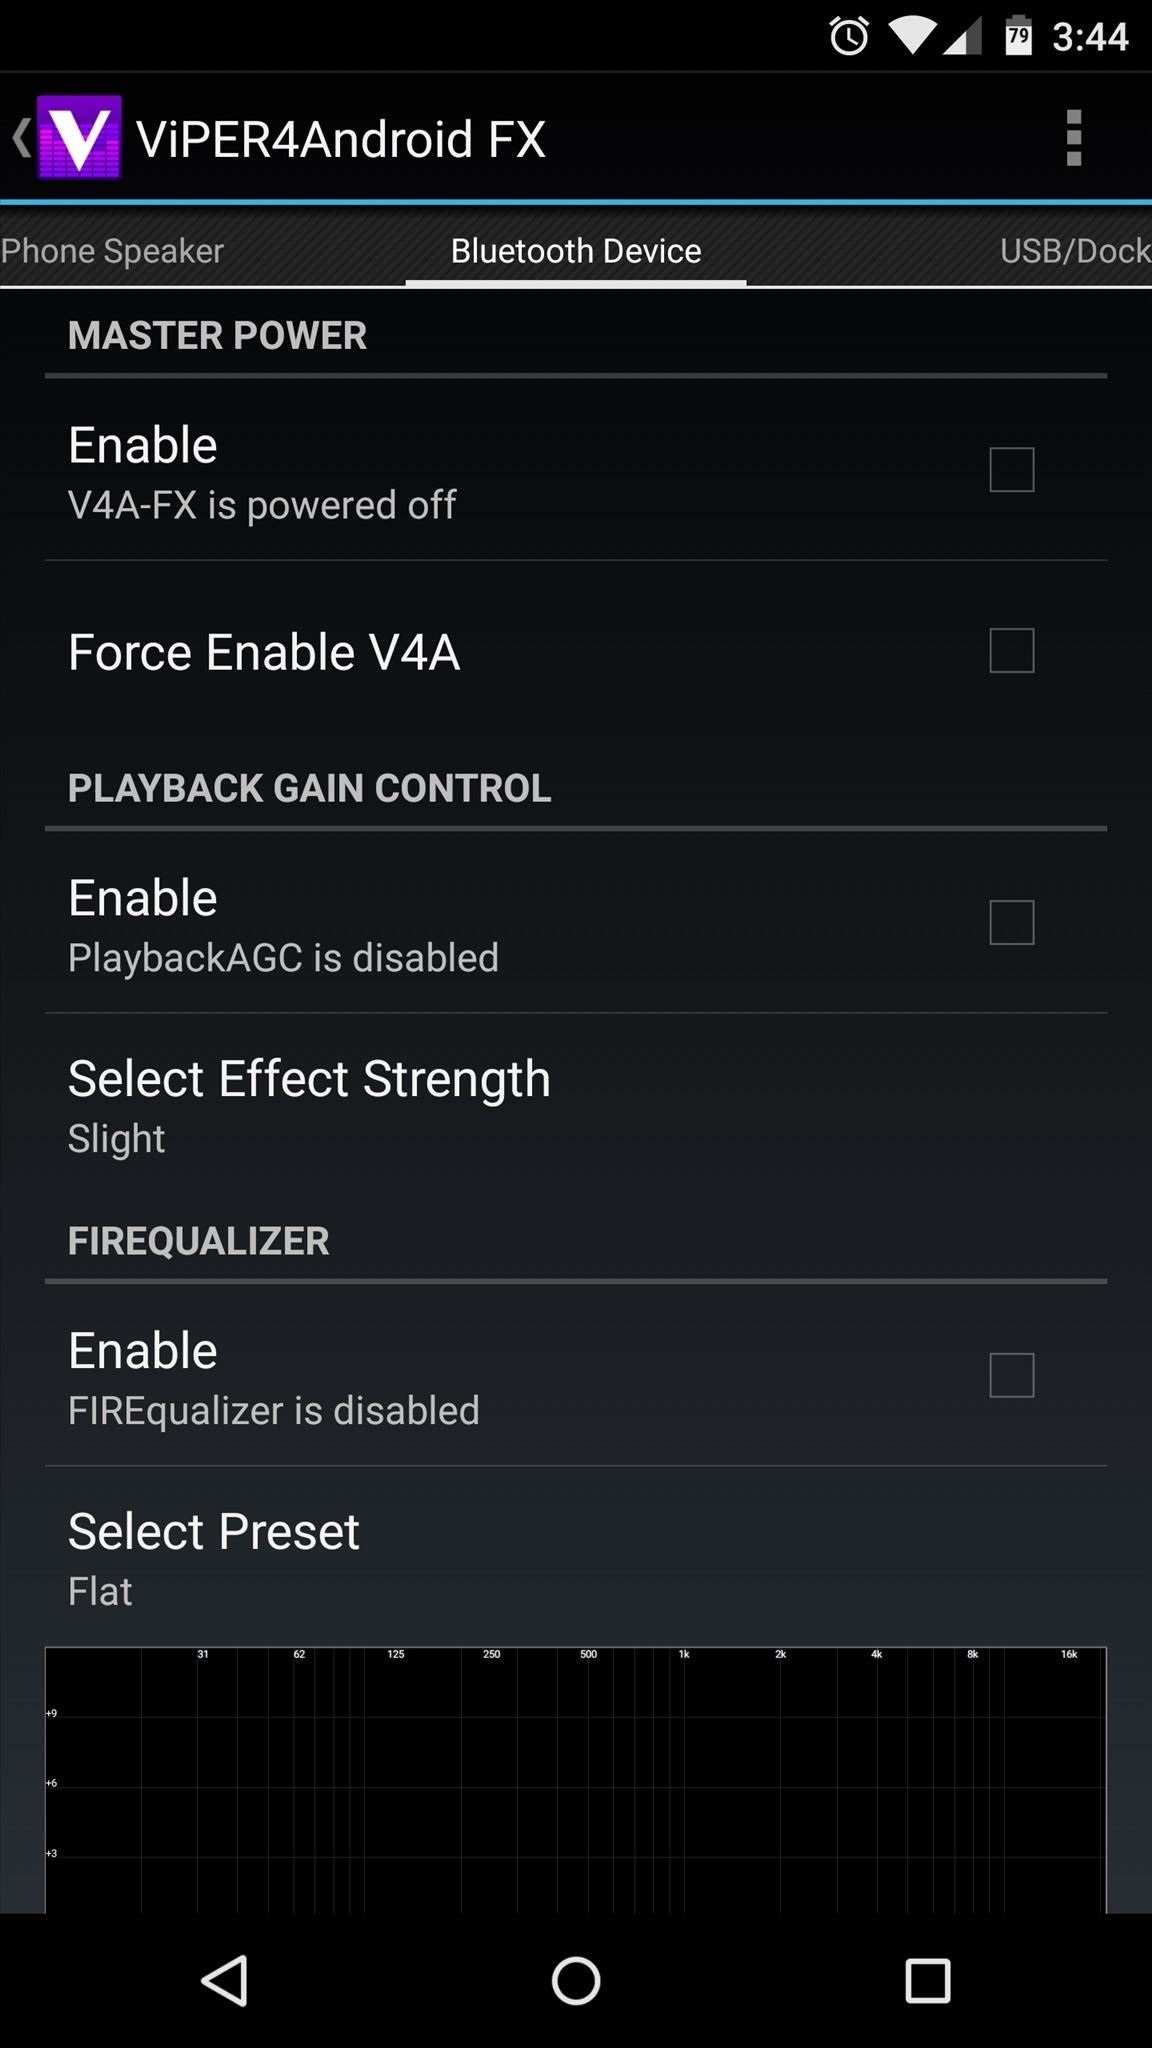
In here, you can set equalizer options for 4 different sound output modes—Headset, Speaker, Bluetooth, and USB Audio. To begin tweaking the settings on any of these modes, tap "Enable" next to the V4A FX entry. If you'd like to use the equalizer, make sure that option is enabled as well.
Beyond that, just poke around and adjust the various settings until you find that perfect sound quality you're after. Speaking of which, do you have any recommended settings that you'd like to share? Let us know in the comments section below, or drop us a line on our Twitter, Google+, or Facebook feeds.
Just updated your iPhone? You'll find new emoji, enhanced security, podcast transcripts, Apple Cash virtual numbers, and other useful features. There are even new additions hidden within Safari. Find out what's new and changed on your iPhone with the iOS 17.4 update.


5 Comments
The link is removed is there a other way to get the link?
https://docs.google.com/file/d/0Bx3QxcFIye9nUlJLREJJc1pXMnM/edit?usp=drive_web&pli=1
Link has been updated.
link is removed
I wonder what the status of this mod is for Android 6.0, anyone tried it?
Share Your Thoughts